Prerequisites
Before connecting Salesforce, ensure you have:Salesforce admin permissions to install packages
AmpUp admin access for your organization
Connect Salesforce
Install the AmpUp Salesforce Package
Install the AmpUp managed package into your Salesforce org using the link below:Follow the prompts in Salesforce to complete the installation.
Configure Objects in AmpUp
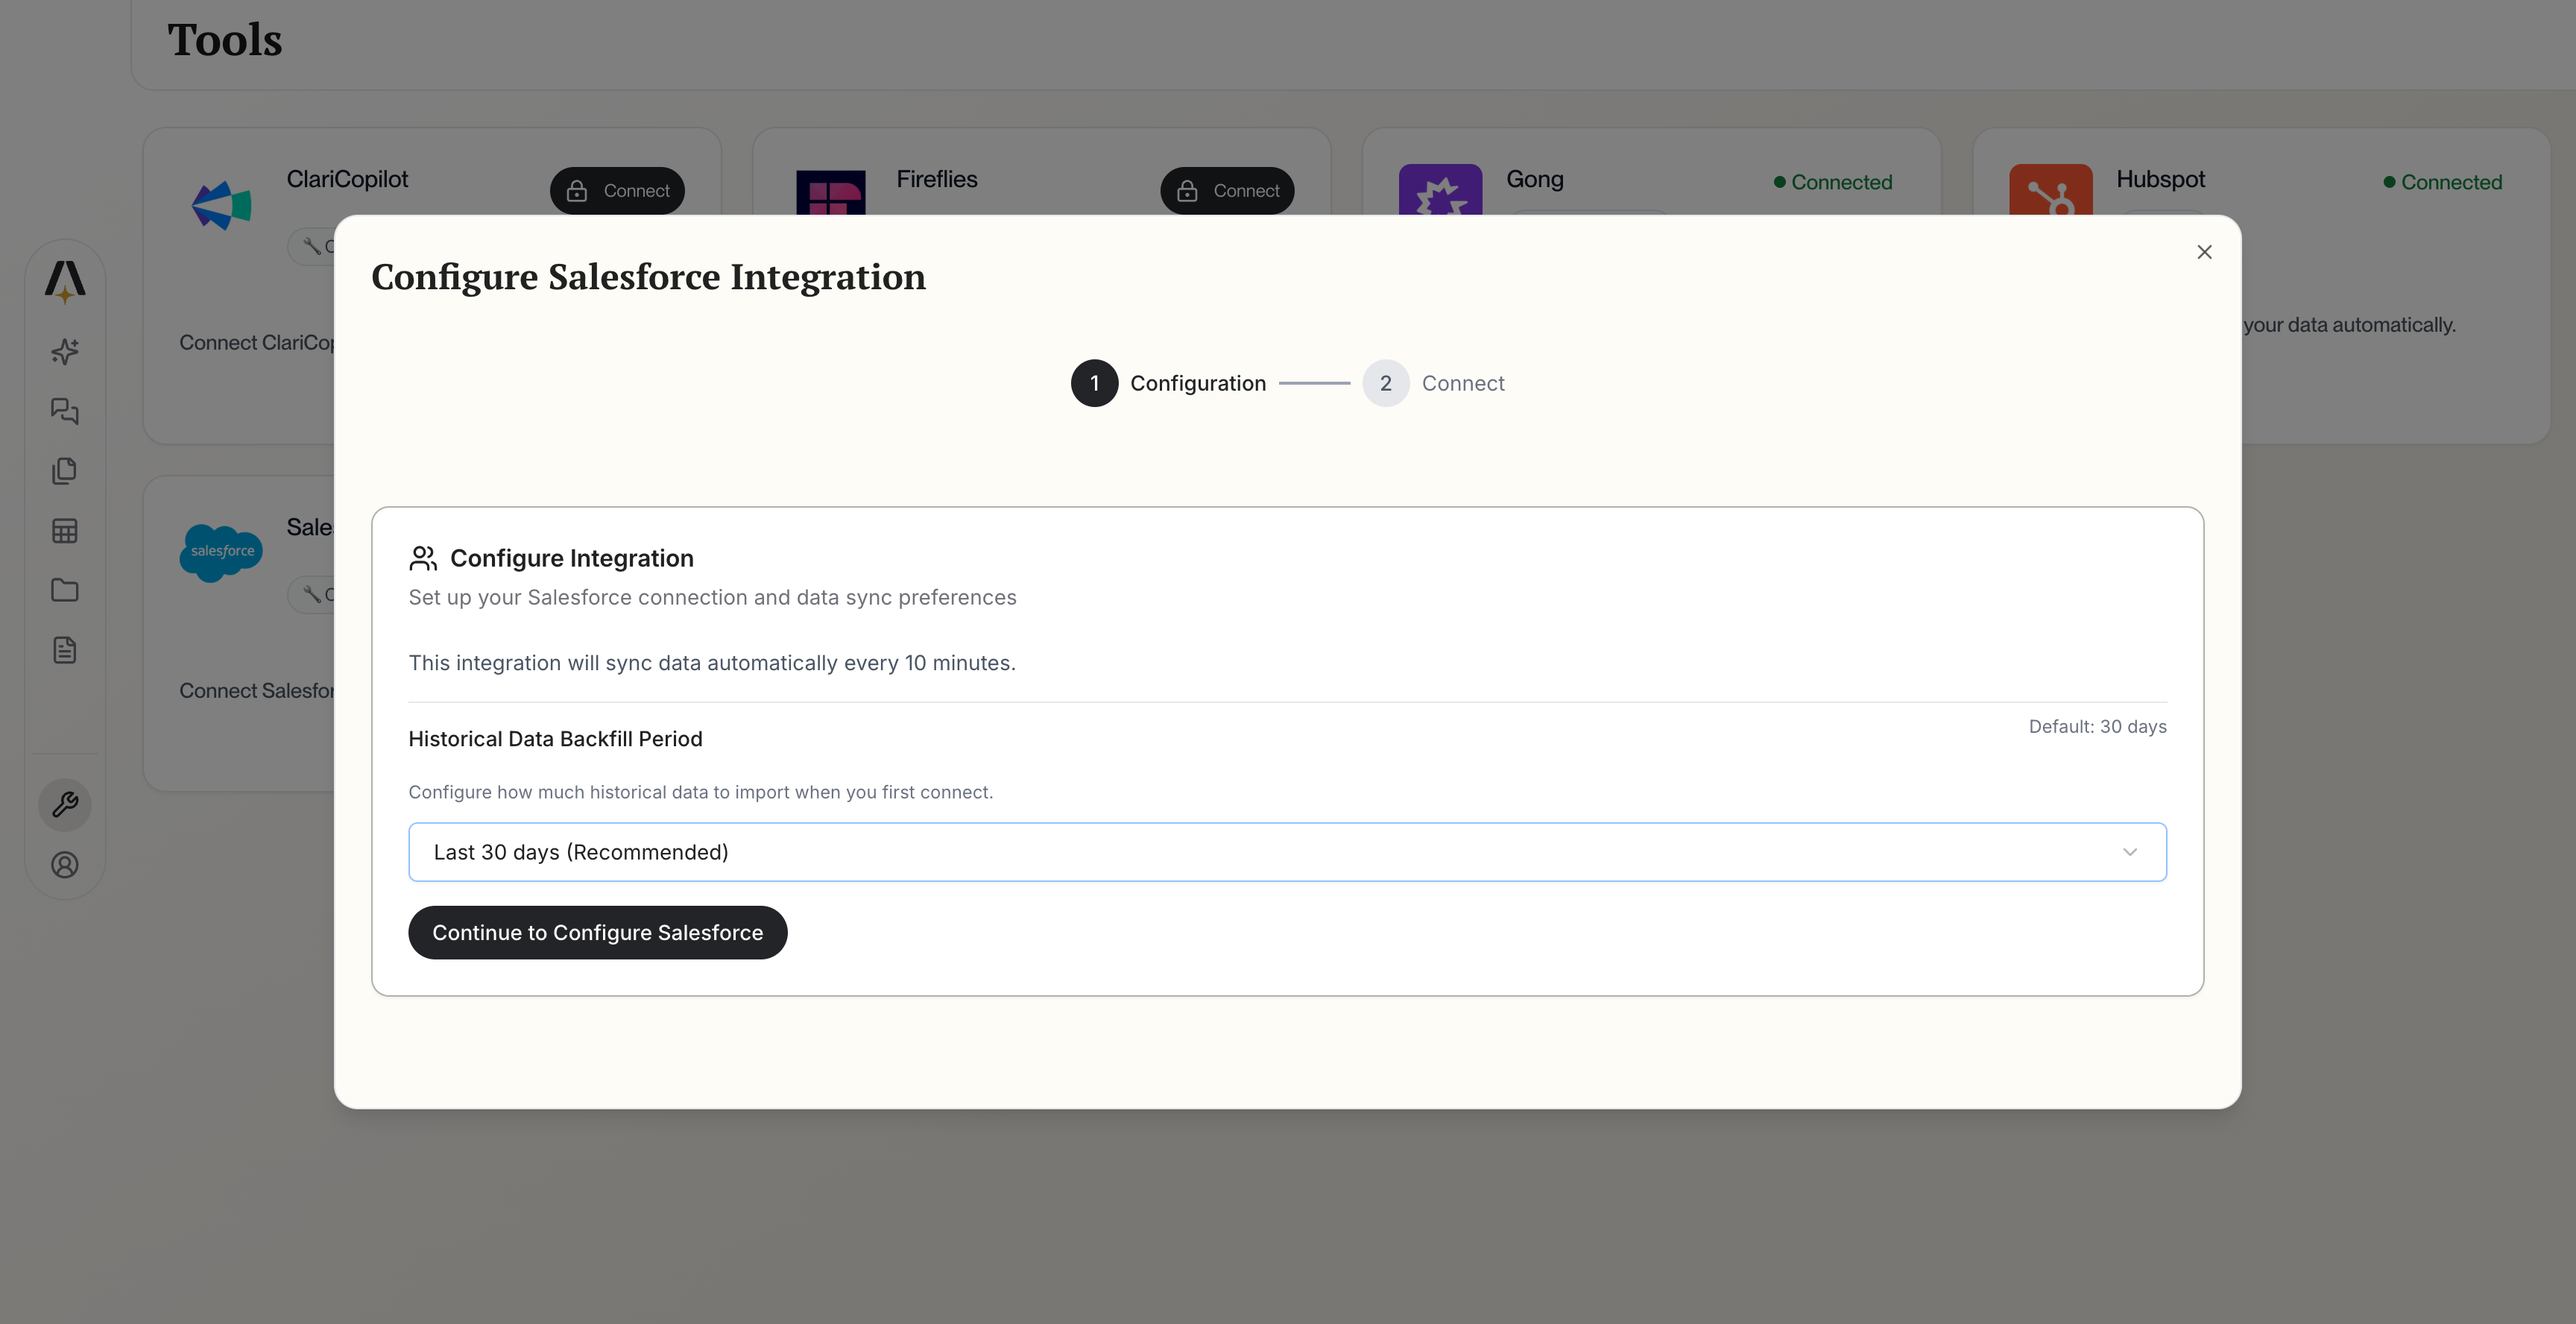
Go to the Salesforce tile on the AmpUp Tools page and click Continue to Configure.